How To Apply Silicone
Download the full detailed instructions as a PDF document.
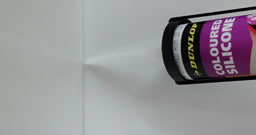
Download PDF GuideUsing Dunlop Coloured Silicone
- Flexible sealant for use in joints such as wall and floor joints, tiled surface and bench tops, bath edges, cupboards, splashbacks and movement joints.
- Adheres to ceramic tiles, glass, enamel, aluminium, granite, porcelain and sanitary acrylics.
- Suitable for indoor and outdoor use, Dunlop Coloured Silicone is waterproof, contains a fungicide to fight mould and is suitable for use in showers.
Application

Step 1
Ensure joints and surfaces are dry, clean and free from grease, soap and water.

Step 2
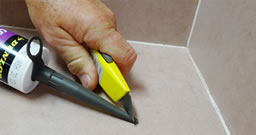
Trim end nozzle to obtain correct bead width and place cartridge applicator in caulking gun.

Step 3
Apply sealant in steady continuous bead ensuring good contact with both sides of the joint. Tool off with a moistened spatula to finish the joint smoothly before a skin forms.

Step 4
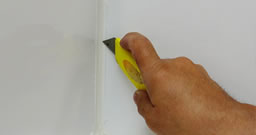
If the silicone has dried on the surface, clean with white spirit solvent to soften the silicone then scrape off with a blade.
Handy Hints
- Select a Dunlop Coloured Silicone that matches your Dunlop Coloured Grout and complements your tiles.

