
Five Facts About Tile Pointing
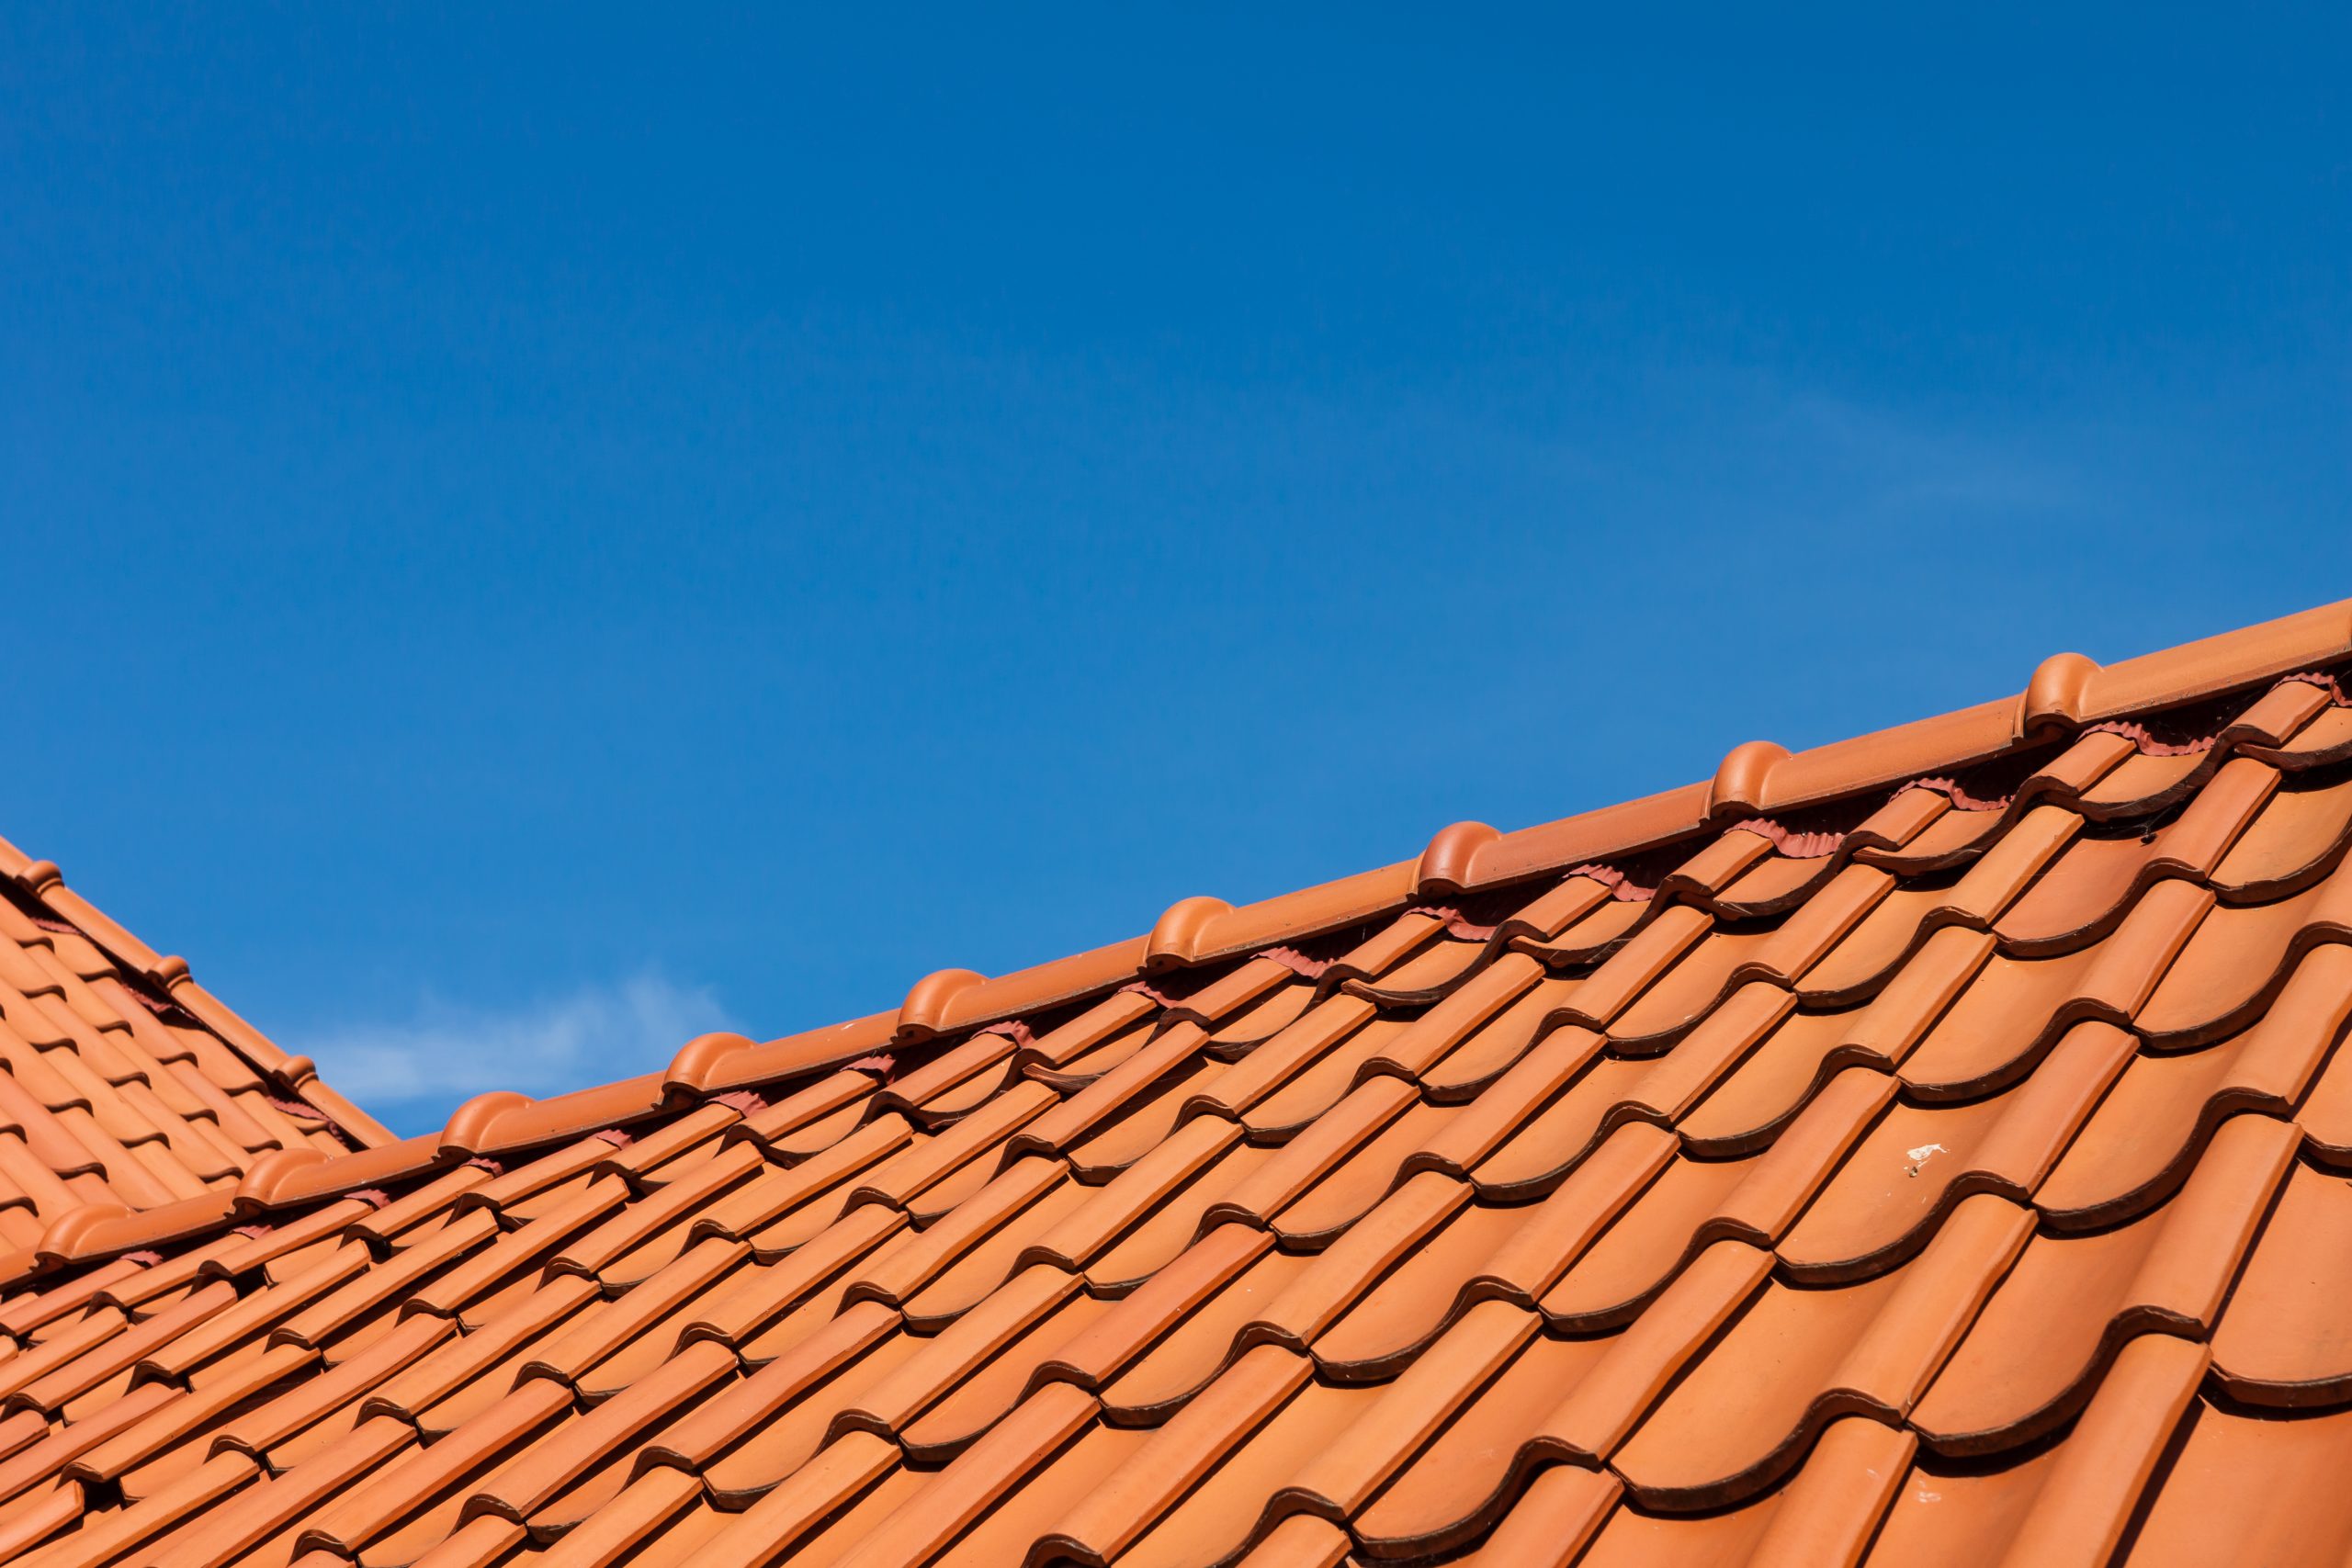
Whether you are seeking to adhere capping to hip and ridge roof tiles or repointing tiles, there are some simple facts to consider before you commence.
- All bedding material should be laid in accordance with AS2050 (Installation of Roof Tiles) and allowed to air cure until set, before application of tile pointing can commence. The installation methods described in this Standard apply to tiled roofs of buildings that are intended for domestic, commercial or light industrial purposes for wind classifications N1-N6 and C1-C4.
- Tile pointing products should not be used to fill thick beds or blobs. If you were to use it instead of a mortar bed, the pointing will dry without issue, but the blob behind may have issues drying long term. While a good quality Tile Pointing product will have good adhesion properties, if it’s too thick (more than 5mm) it could cause setting issues.
- Groves in bedding help bonding. During the bedding process, creating a groove in the bedding material under the ridge tile will enhance the mechanical bond of the tile pointing.
- Do not add water to your tile pointing product. Instead, re-stir periodically through application. When not in use, replace lid on bucket.
- Seek out the tile pointing product in your colour. If there is none available, a good hardware store will make available special orders. However, if you are going to paint over it, allow at least 24 hours prior to painting after the original installation. Allow for more time where humid or cold conditions are present.
Some quality features to look for in a Tile Pointing product:
- Flexible pointing
- Adhesive mechanical fastener
- Non-Slump
- C4, Cyclonic Region Approved
- Meet or exceeds Australian Standards
Ensure that you follow the product’s Safety Datasheet instructions including PPE gear for application.
Tags: Tile Pointing